
Can You Make Ice Cream Without a Freezer?
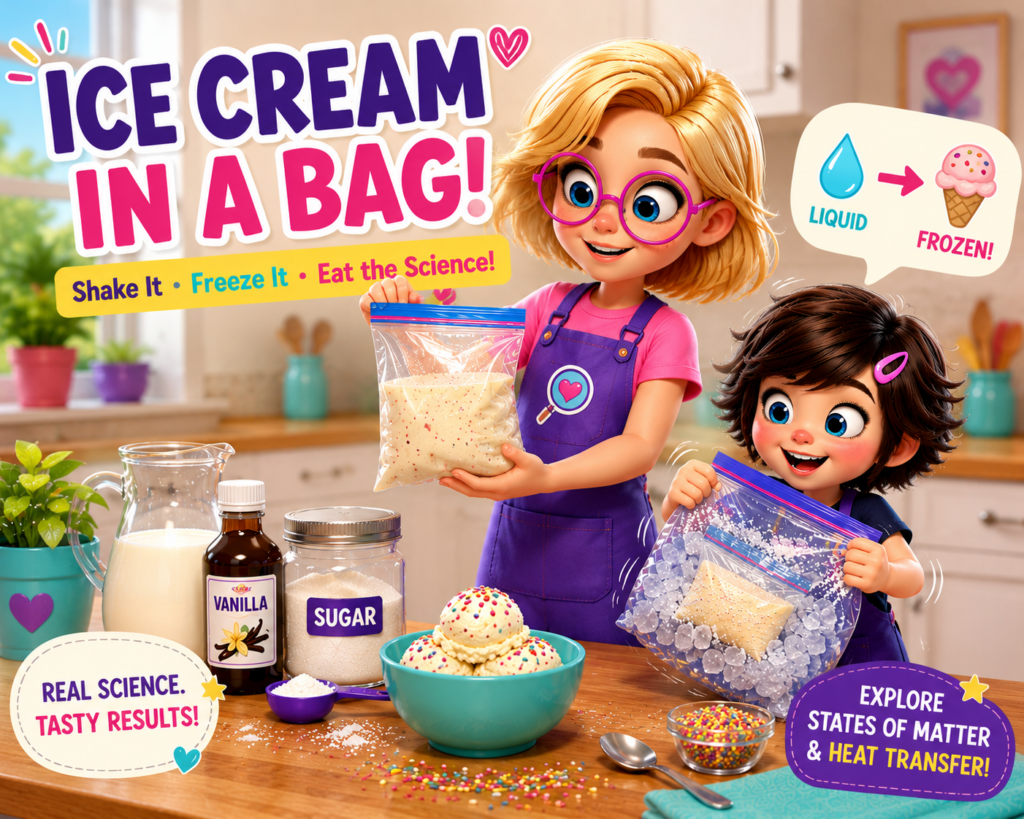
What if we told you that a handful of ice, some salt, and a whole lot of shaking could turn a little bag of milk into actual ice cream?
No ice cream maker.
No waiting all afternoon.
Just science!
Babe pushed her pink glasses up her nose and examined the bag of milk.
“Right now, it’s a liquid.”
Bug grabbed the giant bag of ice.
“And soon it shall become… DESSERT!”
For once, they’re both right.
In this delicious experiment, we’re going to investigate states of matter and discover how salt can help make ice cold enough to freeze our ice cream mixture.
🧪 What You’ll Need
For the ice cream:
- 1 cup whole milk or half-and-half
- 2 tablespoons sugar
- ½ teaspoon vanilla extract
- 1 quart-size zip-top freezer bag
For the freezing bag:
- 3–4 cups ice
- About ⅓ cup rock salt or ice-cream salt
- 1 gallon-size zip-top freezer bag
Helpful extras:
- Measuring cups and spoons
- Towel or oven mitts for chilly hands
- Bowl and spoon
- Sprinkles or other favorite toppings
Curiosity Club Tip: Freezer-quality bags work best. Double-bagging the ice cream mixture can also help prevent salty water from sneaking into your snack.
🔬 Let’s Make Some Ice Cream!

STEP 1 — MIX
Pour the milk, sugar, and vanilla into the smaller bag.
Seal it really well and gently squish everything together.
Take a peek.
It’s definitely still a liquid.
Babe: “Observation number one: our mixture flows and takes the shape of its container.”
Bug: “Observation number two: I would like to eat it.”
Not yet, Bug.
STEP 2 — BUILD THE ICE BAG
Fill the large bag with ice.
Pour the rock salt over the ice.
Now place your tightly sealed little bag of ice cream mixture inside.
Seal the large bag.
STEP 3 — SHAKE!
Here comes the fun part.
Shake, wiggle, roll and gently toss the bag for about 10–15 minutes.
The outside bag can get VERY cold, so wrap it in a towel or wear mittens while you shake.
Try taking turns:
SHAKE SHAKE SHAKE!
Check the small bag every few minutes.
Is the mixture changing?
STEP 4 — WAIT & WONDER 👀
At first, your mixture sloshes around.
Then…
it becomes thicker.
And thicker.
Until eventually—
ICE CREAM!
Ask your little scientist:
What changed?
Was the ice cream a liquid before?
What is it like now?
Where do you think the heat from the milk went?
STEP 5 — OPEN & ENJOY
Remove the small bag from the salty ice.
Important: Rinse or wipe the outside of the small bag before opening it so salty water doesn’t get into your ice cream.
Scoop your experiment into a bowl.
Add a few toppings if you’d like.
Then conduct the most important scientific test of all:
THE TASTE TEST. 🍦
🧠 BABE’S WHY?
Why does adding salt help make ice cream?
This experiment isn’t simply about making ice colder—it is about freezing point and heat transfer.
Normally, water freezes at about 32°F / 0°C.
Adding salt lowers water’s freezing point. That means some of the ice melts into a very cold salty mixture called brine.
Melting requires energy, so the icy brine absorbs heat from its surroundings—including our little bag of ice cream mixture.
As heat leaves the ice cream mixture, it gets colder and begins to freeze.
Babe: “We’re transferring thermal energy out of the mixture and causing a phase change from liquid toward solid.”
Bug: “So the ice steals the warm… and gives us ICE CREAM?!”
Close enough, Bug.
One little science-language tweak
For this activity, I would teach heat transfer + an endothermic melting process rather than simply calling the whole experiment an “endothermic reaction.” The important process is physical rather than a new chemical substance being created.
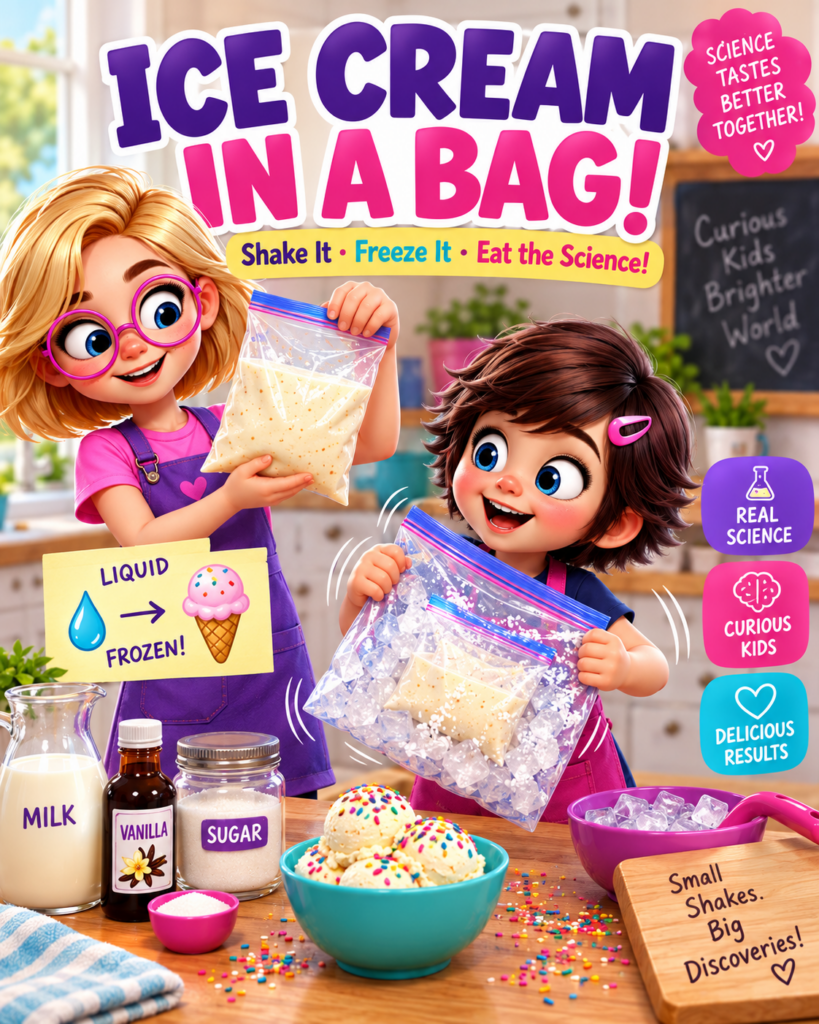
💧 ➜ 🍦 STATES OF MATTER
Before shaking:
LIQUID
The milk mixture flows and takes the shape of its bag.
After cooling:
FROZEN / SEMISOLID ICE CREAM
As water in the mixture freezes, the mixture becomes much thicker and holds its shape better.
This is called a phase change.
🔎 WHAT KIDS ARE ACTUALLY LEARNING
- States of matter — observing a liquid become a frozen mixture
- Phase changes — investigating freezing and melting
- Heat transfer — discovering that cooling means thermal energy is moving away from the ice cream mixture
- Freezing-point depression — seeing how salt changes the freezing behavior of water
- Observation — noticing changes in temperature, texture and movement
- Cause and effect — connecting the salty ice bath to the freezing ice cream
- Motor skills — shaking, squeezing, measuring and pouring
- Patience — physical changes take time!
💜 GROWN-UP NOTE
This is one of those wonderfully sneaky experiments where kids may think they’re simply making dessert while they’re actually experiencing several big science concepts with their own hands.
Before explaining everything, give them time to notice.
“What changed?”
“What feels different?”
“Why do you think the ice is melting?”
Their guesses don’t have to be correct. Wondering is part of the experiment.
And when science ends with sprinkles?
Even better.