
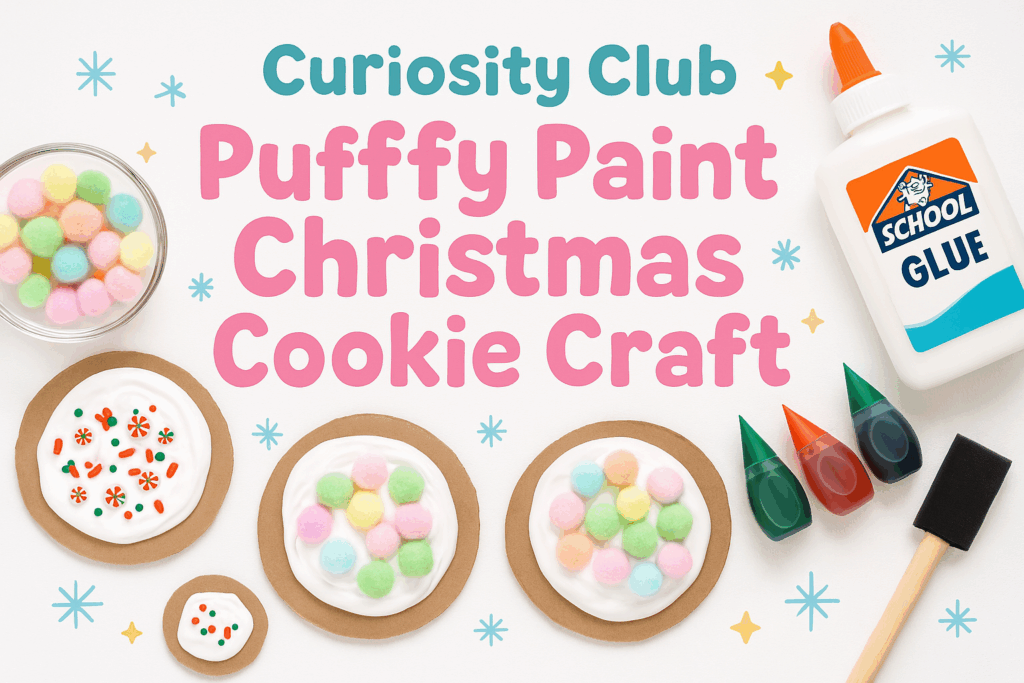
A Sensory STEAM Activity for Creative Kids!
Babe: “Bug… this looks JUST like frosting!”
Bug: “Yes but DO. NOT. EAT. IT.” 😆🍪
This simple craft turns shaving cream + glue into the fluffiest puffy paint frosting your little artists have ever used. It’s perfect for making pretend Christmas cookies, snowy art, rainbow creations, or sensory STEAM play!
🧪
What You Need
- 🧁 Muffin tin or small bowls
- 🫧 White shaving cream (foam type)
- ✨ Basic Elmer’s school glue
- 🌈 Food coloring
- 🖌 Foam paint brushes
- 📝 Optional: paper plates, cardboard circles, or cardstock
Babe: “Science + art = our FAVORITE combo!”
🎨
How to Make Curiosity Club Puffy Paint
Step 1 — Prep Your Mixing Dish
Choose a muffin tin cup or small bowl. Add equal parts shaving cream and school glue.
Step 2 — Add Color Magic
Add 1–2 drops of food coloring.
Bug: “Just a teeny bit! It gets darker when it dries!”
Step 3 — Mix the Puffy Paint
Use a foam brush to stir until the mixture looks fluffy, smooth, and just like frosting.
This is where the sensory fun really kicks in — it feels like mixing clouds!
Step 4 — Repeat for More Colors
Make as many colors as you want!
Create a holiday palette (red, green, peppermint pink) or rainbow science art.
🍪
Craft Ideas from Babe & Bug
❄️
Christmas Cookie Craft
- Cut cardboard circles
- Paint “frosting” on top
- Add pom-poms or paper sprinkles
Bug: “My cookie is triple-frosted. Because SCIENCE.”
🌈
Rainbow Puffy Paint Art
- Cut a paper plate in half
- Paint a rainbow of puffy paint across the arc
- Let dry to reveal 3D, textured, fluffy art!
⏳
Drying Time
- Lay your artwork flat
- Allow a few hours to dry completely
- Puffy paint will stay raised, soft, and textured
⚠️ Important Notes
- Puffy paint cannot be stored — it begins to deflate over time
- Clean bowls and brushes easily with warm water + dish soap
- Babe Reminder: “This looks like frosting, but it’s NOT food!”